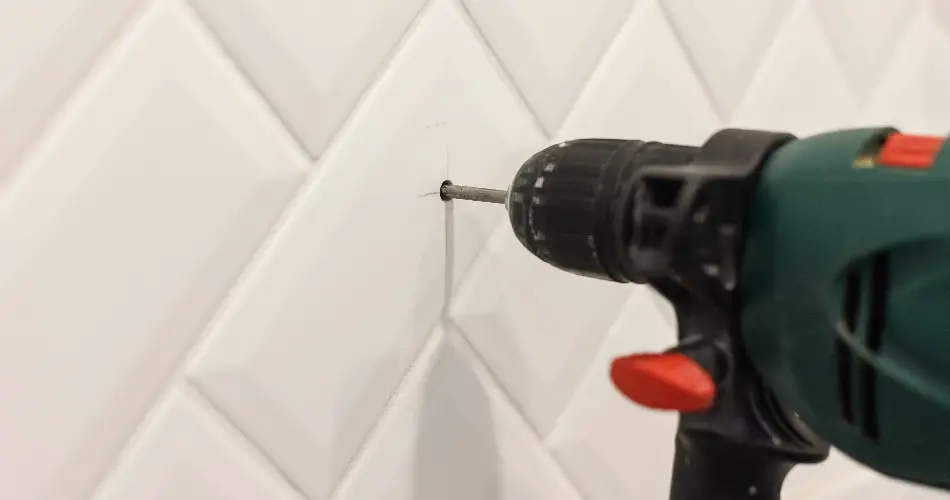
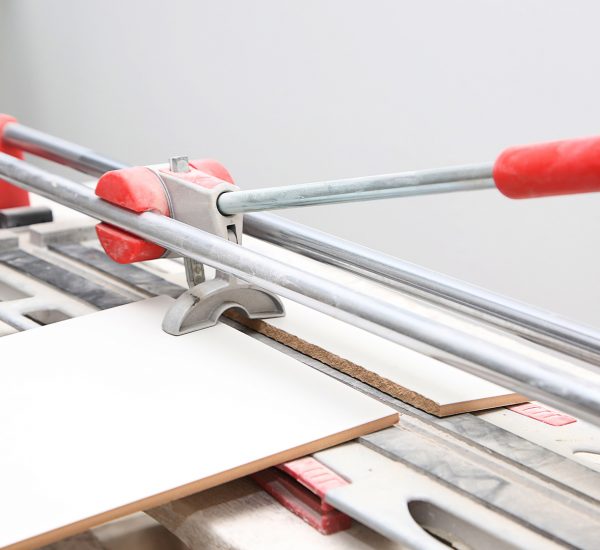
Your tiling work is now complete and it has come out better than you expected – congratulations! But now the very thought of installing shelves, bathroom accessories, and other fittings is giving you nightmares as drilling the tiles could potentially impair all your efforts. Fortunately, there is a way to drill tiles without causing any damage to them. Follow this detailed guide on drilling through tiles without hurting them to make sure you install necessary bathroom fittings and keep your tiles’ integrity intact too.
1. Learn About Your Tiles
Before attempting to drill through your newly installed tiles, ensure you exactly know what you would be drilling through. Natural stone and porcelain tiles are much stronger compared to ceramic tiles, which means a bit more effort would be needed to break through the tile. Moreover, you would also require a drill bit that has been designed to perforate both the body material and hard glaze of porcelain.
2. Make Sure You Have Proper Equipment for the Job
A power drill is an absolute must for this job. However, the drill bit is an even more important element that’s needed to effectively and successfully drill through the tile. Strictly refrain from using a worn out or old drill bit, for they would never be as effective as fresh bits. Using an old bit means sub-par performance. Also, you would invariably damage the tile’s surface while drilling.
Also, it is advisable that you put on a dust mask and safety goggles prior to drilling through tiles since the drilling could pollute the air with debris particles – the amount of those particles in the air would depend on how dense the material undergoing drilling is. Having a pair of latex safety gloves is recommended too.
As aforementioned, you need a specialist drill bit to drill through the tiles – standard or even common masonry bits won’t cut it as they aren’t tough enough to penetrate the hard surfaces of tiles. Instead, go with either diamond-tipped or carbide-tipped drill bits. The diamond-tipped bits are a bit expensive compared to the carbide bits, but they are durable enough to withstand the severity of drilling even when put up against the hardest of tile surfaces. They would also not burn out like regular masonry drill bits do.
Carbide-tipped drill bits are more commonly used between the two. Though their performance is more than acceptable when it comes to drilling ceramic and all kinds of glazed tiles, you shouldn’t be using them to drill through porcelain stoneware. Tougher substances such as regular porcelain, quarry tiles, vitrified porcelain, and full-bodied porcelain require more than just elbow grease – in other words, they need diamond- tipped drill bits as well.
3. Mark Only Once the Measurement is on the Dot
If you have tried drilling through a tile before, you would be aware that surface glaze can make it quite hard for the drill bit to stay in place on the floor before you begin drilling. You must hold the drill machine strongly so that there is no skidding around while drilling. To eliminate a bit of the skidding, use masking tape over the drilling area. Measure the area to be drilled at least twice before marking over the tape with an X. This would result in a surface that lets your drill to get a grip as soon as you start drilling.
If you have to drill multiple holes, you may be better off making a small drilling template using a piece of wood. Just make a hole through that wood piece that’s identical in diameter to your drill bit. Place this wood over the specific portion of the tile and use the template hole as a guide. Hold the block of wood with your other hand so that it remains steady on the surface.
Special accessories, referred to as drill guides, could be used to help increase your drilling accuracy. Various tilling tool manufacturers make these, and they typically come packaged in a plastic casing that you can attach to your tile and drill through (similar to how you use the wooden block).
Other types include a steel plate that comes with guide holes. This plate can be attached to the to-be-drilled surface using a suction cup, helping drill both vertical and horizontal holes of precise diameters. While you’ll have to spend some money for such accessories, they could be reused any number of times, making them a solid investment if you are seriously into DIY-ing stuff in the house.
4. Start Drilling Through Tiles
After having done all the prepping and measuring up, and amassed all necessary gear, you may now start drilling. As mentioned already, tiles (particularly natural stone and porcelain tiles) are extremely strong materials and can easily brave everything that commercial and domestic usage could throw at them. Generally speaking, such a trait is desirable, but it could render drilling through the tiles quite an uphill task, particularly if you are not patient enough to break through their hardness.
You might be tempted to set your drill at its maximum power settings and give it your all. But that would be a totally incorrect approach as your drill bit will overheat and there would be more vibrations to deal with than normal, which would invariably crack and damage the tile. Go slow and start at the lowest speed, applying pressure evenly until the glaze’s top layer has been bored. Once you have gone past the superficial layer, you may slowly increase the drilling pressure and speed as needed to drill via the tile and access the wall.
Once the drill bit comes in contact with the wall surface, drill slowly and steadily so that the wall doesn’t disintegrate – else, it would become difficult for your rawlplug or wall anchor to stay stuck to the wall. Consider changing the drill bit so that it goes with the substance the substrate is made of.
5. Keep Your Bits Cool
Effective and efficient tile drilling is all about cool drill bits. To prevent drill bit heating, you don’t need small handheld fans and ice cubes – some good old water would be more than enough. Whenever the bits feel warmer than normal, take a sponge, wet it in water, and dab the drill bit with the damp sponge for some instant cooling.
Another method is holding a wet sponge directly underneath the drill bit while it’s in use. This would not just mitigate drill bit overheating but would also trap debris and dust caused by the drilling. If you are indeed going to use these cooling techniques, make sure the motorised part of your drill doesn’t come in contact with the water.
If you are okay spending some money on cooling equipment, buy the Multidrill spray system from Rubi, a major tiling accessories and tools manufacturer. The kit comprises an integrated cooling setup that helps keep the drill bit cool while it’s being used.
Such a device would come in handy when you are working with carbide-tipped bits since they almost immediately stop working as soon as the temperatures rise beyond a point. Keeping them cool at all times is imperative. Diamond-tipped bits, on the other hand, would continue working even upon becoming hot to the touch, provided you cool them down at regular intervals. The major takeaway from all of this is your drill bits should stay relatively cool and not be subjected to excessive pressure if you plan to use them for long.
6. Change the Bits to Complement the Substrate That Attach the Tiles
As mentioned before, once the drill bit moves beyond the tile and accesses the wall surface, the drill should be operated slowly and steadily so that the wall isn’t damaged and installing the rawlplug or wall anchor isn’t rendered non-feasible.
It’s recommended you change the bit to the one that goes well with the substrate that the tiles are affixed to. Therefore, if it is stone/concrete, go with the appropriate masonry drill bit. Timber or fibre board would need wood bits. Standard drill bits or the one used for drilling the tile would be good enough to drill cement backer boards that go behind tiles in damp rooms such as wetrooms and showers.
Tiles would most probably not go over alloys or metal, but there can be some metal supports or struts behind the substrate – a standard HSS (high-speed steel) drill bit would be needed to drill through them. Cobalt steel or black oxide drill bit would be ideal for cast iron, stainless steel, or other stronger metals.
Major Takeaways
If you religiously follow the tips and suggestions shared above, you can easily drill through tile without causing it any damage. There are a few very important things you should take a note of. Make sure the drill bits used are the right ones for the job; keep the bits cool; and progress slowly and steadily. Make sure you are not running against the clock when drilling through tiles – patience is a virtue. Do the job hastily (and not keep an eye on possible overheating) and you are almost certain to cause the tile to crack.


