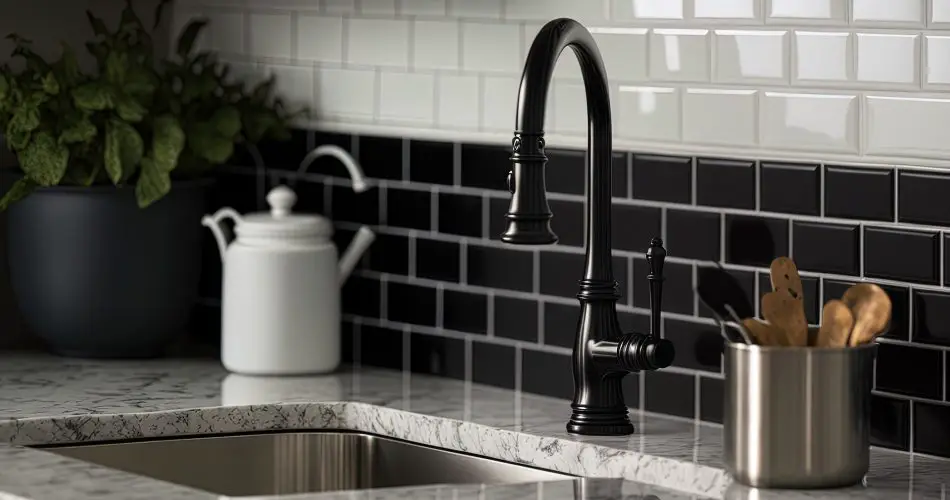
Metro tiles, also known as subway tiles, are popular with many homeowners due to their classic, timeless look. However, these tiles can accumulate dirt and grime over time, making them dull and discoloured. Fortunately, cleaning metro tiles is relatively simple and can be cleaned using everyday household products. In this article, we will provide a step-by-step guide on how to clean metro tiles and bring back their original shine.
Step 1: Gather Your Supplies
Before you start cleaning your metro tiles, you will need to gather a few supplies. These include:
- Warm water
- A bucket
- A non-abrasive sponge or cloth
- Mild soap (such as dish soap) or tile cleaner
- White vinegar
- A squeegee or mop
Step 2: Remove Loose Dirt and Dust
Start by removing any loose dirt and dust from the surface of your metro tiles. This can be done using a dry, soft cloth or a vacuum cleaner. Be sure to get into any grout lines or hard-to-reach areas, as these are often where dirt and dust accumulate.
Step 3: Clean with Soap and Water
Next, fill your bucket with warm water and add a small amount of mild soap or tile cleaner. Dip your sponge or cloth into the solution, wring it out, and then start cleaning the tiles. Use a gentle, circular motion to remove dirt and grime, and be sure to clean the grout lines thoroughly.
Step 4: Rinse the Tiles
Once you have finished cleaning the tiles with soap and water, it is important to rinse them thoroughly. Use a squeegee or mop to remove any soap residue, and then dry the tiles with a clean, dry cloth.
Step 5: Clean with Vinegar
If you are still not happy with the appearance of your tiles, try cleaning them with white vinegar. Fill a spray bottle with equal parts water and vinegar, and then spray the solution onto the tiles. Let it sit for a few minutes, and then rinse with warm water.
Step 6: Dry the Tiles
Finally, dry the tiles thoroughly using a clean, dry cloth.
In conclusion, cleaning metro tiles is a relatively simple process that can be done using everyday household products. By following these steps, you can bring back the original shine to your tiles and keep them looking great for years to come.


