Regarding home improvements, tiling is an excellent way to enhance the look of your spaces. Whether you’re updating your kitchen, bathroom, or hallway, achieving a professional finish can significantly boost your home’s aesthetic and value. This comprehensive guide will walk you through the essential steps and insider tips to complete professional-level tiling, ensuring your DIY project looks like it was done by an expert.
Planning Your Project
Understand Your Space: Before beginning, assess the area you want to tile. Measure the space accurately to determine how many tiles you’ll need, considering a little extra for cuts and breakages.
Choose the Right Tiles: Select tiles that complement your space and suit the area’s use. For instance, bathrooms and kitchens require slip-resistant and waterproof tiles.
Gather Your Tools: Ensure you have all the necessary tools before starting. These include:
- Tile cutter
- Notched trowel
- Tile spacers
- Grout float
- Spirit level
- Sponge and bucket
Preparing the Surface
- Clean and Repair: The surface should be clean, dry, and level. Repair any holes or cracks to prevent issues after tiling.
- Underlay: Consider using a backer board or underlay, especially in moisture-prone areas, to provide a stable and waterproof base.
Laying Out Your Tiles
- Find Your Starting Point: Identify the best place to start tiling, often the centre of the wall or floor, to ensure a symmetrical finish.
- Dry Layout: Arrange tiles on the floor without adhesive to plan the layout and make necessary cuts beforehand.
Applying Adhesive and Laying Tiles
- Mix Adhesive: Prepare your adhesive as per the manufacturer’s instructions.
- Apply Adhesive: Use a notched trowel to apply adhesive to small sections, creating ridges.
- Lay Tiles: Place tiles firmly into the adhesive, using spacers to ensure even gaps for grout.
- Check Levels: Regularly use a spirit level to check tiles are flat and even.
Cutting Tiles
- Measure and Mark: Accurately measure and mark where the tile needs to be cut.
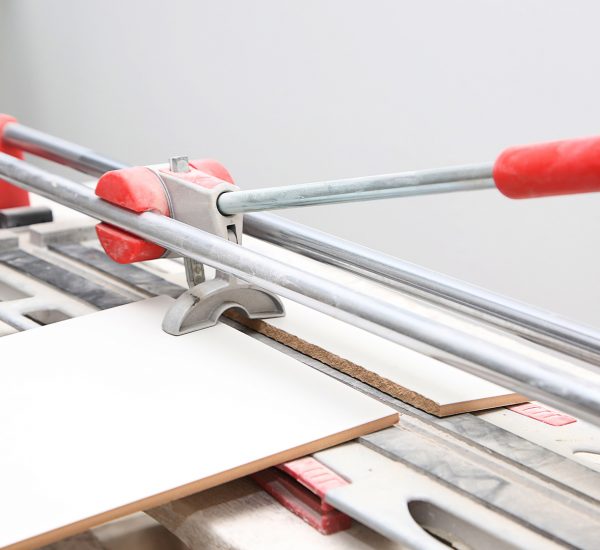
- Use a Tile Cutter: A manual tile cutter is typically sufficient for straight cuts. For complex shapes, consider a wet saw.
Grouting
- Choose Grout: Select a grout colour that complements your tiles. Mix the grout according to the instructions.
- Apply Grout: Use a grout float to work the grout into the gaps between the tiles. Wipe excess grout with a damp sponge.
- Curing Time: Allow the grout to heal fully, typically for 24 hours, before using the space.
Finishing Touches
- Seal the Grout: Especially in wet areas, sealing the grout can prevent staining and prolong its life.
- Caulking: Apply caulk at corners and edges for a neat finish.
- Cleaning Up: Once the grout has dried, polish the tiles with a soft cloth to remove haze.
Maintenance
- Regular Cleaning: Keep your tiles looking new using non-abrasive products.
- Seal as Needed: Periodically check and reseal the grout to maintain its appearance and function.
Conclusion
Achieving professional-level tiling is within your reach with careful planning, the right tools, and attention to detail. By following these steps, you’ll ensure your tiling project is successful, durable, and visually appealing. Remember, patience and practice are key to a professional finish, so take your time and don’t rush the process. With this guide, you’re well on your way to transforming your space with beautiful, expertly laid tiles. Happy tiling!


