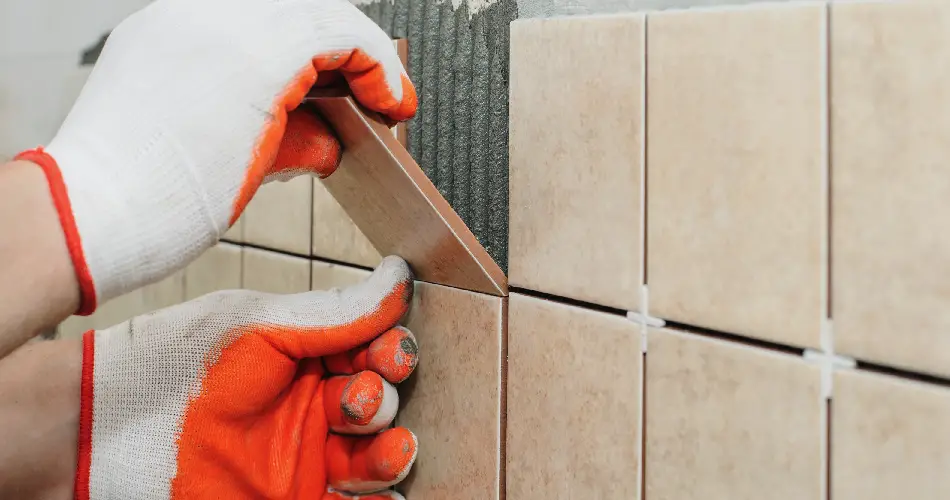
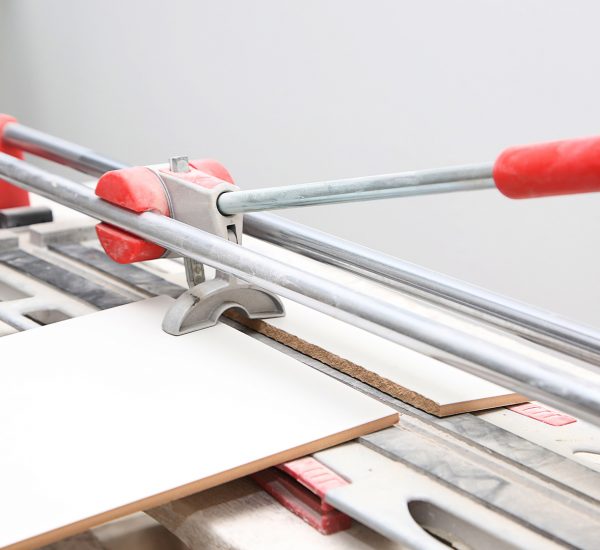
Can you tile over tiles? The short answer is yes. Despite what you may have heard, tiling over tiles is entirely possible. In fact, it can be a much quicker and easier way to refresh the look and feel of your home than completely removing tiles and replacing them with a new design. However, the results can often be a bit hit and miss, and the reason is that many people tile over tiles without properly preparing the area.
How to Tile Over Tiles
While tiling over tiles is certainly a good way to freshen up the look of your home without the hassle, the process isn’t quite as straightforward as simply applying a new tile on top of an old one. Can you tile over tiles without the prep? Yes – but this can result in an uneven finish, damage to the new or underlying tile, and even problems in the structural integrity of the design, which can lead to a short-lived result.
Regardless of whether you’re tiling over floor or wall tile, porcelain tile or ceramic tile, bathroom tile or kitchen tile, we recommend following a standard 7-step process for optimal results:
- Repair chipped or broken tiles
- Even out the old tiles
- Clean your tiles
- Plan your layout
- Add tile adhesive
- Press the tiles down
- Grout the tiles
1. Repair Chipped or Broken Tiles
Creating a good canvas is the first step to successfully tiling over tile. Examine your tiles and note any cracks and chips, and any tiles that feel loose. In many cases, minor damage can be easily addressed by applying more adhesive to secure loose tiles, and using sealant to patch up small cracks. For larger areas of damage, it may be possible to use a utility knife to remove the grout and loosen the tile, replacing it with a spare. This can be a tricky job, so it’s best when there are just one or two isolated cases.
Perhaps the most important point to be made here is knowing when to admit defeat. If you assess your tiles and determine that the majority are badly damaged, it’s well worth retiling rather than attempting to tile over tile. While removing tiles and retiling can be a much bigger task, trying to adhere new tile to a badly broken, cracked, or damaged base can create the need for urgent (and potentially costly) repair work in the future. Can you tile over tiles that are broken, damaged, or chipped? Yes. Should you? No.
2. Even Out The Old Tiles
If your tiles are very old, some warping is completely normal. However, this can create an uneven base, affecting how well the new tiles stick to the old ones. Uneven surfaces can also be caused by natural wear and tear to floor tiles, or as the result of a poor technique used when they were laid.
The good news is that an electric sander can sort out most minor problems, gently skimming the surface to create an even base. Even if you’re confident that your existing tiling is flat and even, it’s still worth giving it a quick once-over with the power sander. For smooth and glossy tiles especially, a quick sanding can roughen up the surface to allow the adhesive to stick better, and increase the chance of project success.
3. Clean Your Tiles
Do you know how to clean tiles and grout? If not, now is the time to learn. Everyday airborne dirt, dust, and grime can build up on the surface of tiles. In kitchen spaces especially, tiles can accumulate a layer of grease from cooking. All of these things can reduce the adhesive’s ability to securely hold the new tile in place. Luckily, all you need for many types of tile is a mild dishwashing soap. Mixed with water, a quick wipe should be enough to properly remove most dirt.
If you’ve just completed step 2 of the process and have sanded the existing tiles, you might find it easier to vacuum up any dust (using an attached hose for walls) before wiping the tiles with soap and water. Always leave the tiles to dry completely before moving onto the adhesive application and the tiling process.
4. Plan Your Layout
Just because your existing tiles are arranged in a certain way doesn’t mean that your new tiles need to follow the same layout. This is a chance to redesign your space, making the most of the many different tile patterns that can help to create the right atmosphere for the room. Carefully consider which look is best. You can physically lay out the pattern to get a better idea of the overall aesthetic.
While there’s no end to the possibilities, popular tile patterns include the off-centred brick pattern, the v-shaped herringbone design, and the contemporary pinwheel effect. The choice is yours.
5. Add Tile Adhesive
Regular tile adhesive can be used to tile over tile. There’s no need to pick up fancy products or special glues. However, one thing that should be done differently when tiling over tile, rather than onto the wall, is that you should apply adhesive to both the surface of the old tile as well as the back of the new tile. This not only ensures good coverage, but also increases the chance of solid adherence. This can be done using a standard plastering trowel, with a comb used to brush both areas in an up/down pattern.
6. Press The Tiles Down
Although it’s tempting to apply a tile with force to ensure it sticks well, it’s best to place the new tile onto the existing tile gently, carefully sliding it into place before adding any pressure. This helps to reduce the risk of mistakes, and ensures that each tile is being placed in exactly the right position for the design.
Once you’re happy with the placement of each tile, add your spacers as appropriate, and move onto the next tile, and the next, until the pattern is complete. Be sure to wait until the adhesive is completely dry before moving onto the final stage: grouting. Drying time varies depending on the adhesive you use.
7. Grout The Tiles
When the adhesive has dried, you can complete your home design project by applying grout. This is done in exactly the same way when tiling over tile as when tiling directly onto the wall; simply squeeze a line of grout in the spaces around the tile, and smooth out to fill in the gaps. Don’t forget to wipe away any excess quickly with a damp cloth or sponge, to avoid grout drying onto the surface of your brand new tiles. This can be a nightmare to remove when all you want to do is admire your new space!
Figuring out how much grout you need is perhaps the most challenging part of tiling, but using a good grout calculator can make it easy to see exactly how much should be used for your tile area.


