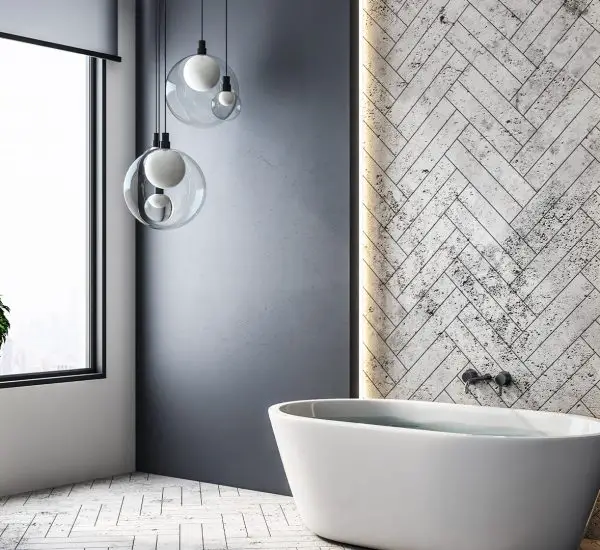
Over time, tiles can become dull and tired-looking, thanks to everyday wear and tear. The obvious solution is to create a new look by retiling the space, but this can be a costly and time-consuming task. If your tiles are generally in good condition, without too much damage, there may be another way to give your kitchen or bathroom a whole new look without the hassle. All you need to do is get painting.
Can you paint tiles? While it’s not always the most obvious answer for rejuvenating an interior, it is possible. And the results can look very natural – if you use the right painting techniques.
How To Paint Tiles
The first steps in painting tiles are deciding where to paint, and selecting a suitable paint product. It’s best to avoid areas that are regularly exposed to water, such as the inside of shower cubicles, as this can cause the paint to wear away quickly, undoing your hard work. You can help the colour to last longer by choosing a dedicated tile paint, although an oil-based gloss or eggshell paint can also work quite well.
We recommend taking a simple 5-step approach to painting tiles, with an action plan like this:
- Repairing or replacing chipped or broken tiles
- Cleaning tiles
- Masking the area
- Adding primer
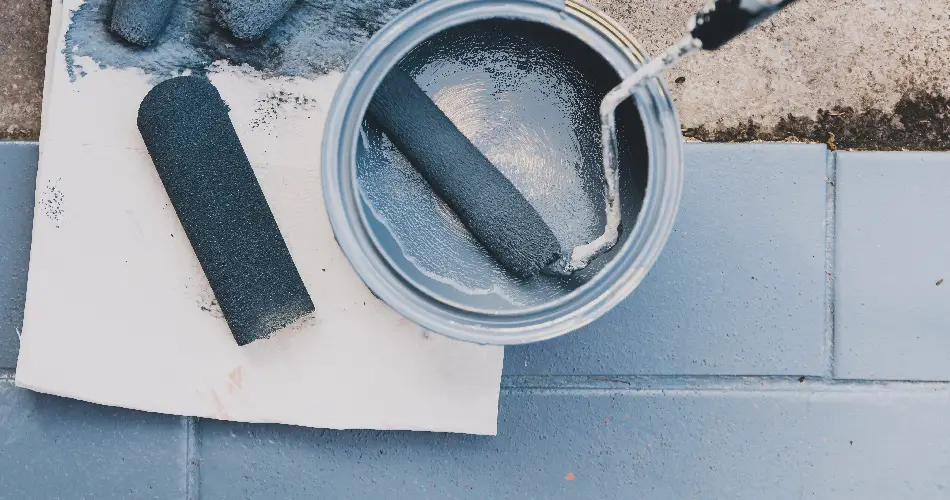
- Starting to paint
1. REPAIR/REPLACE CHIPPED OR BROKEN TILES
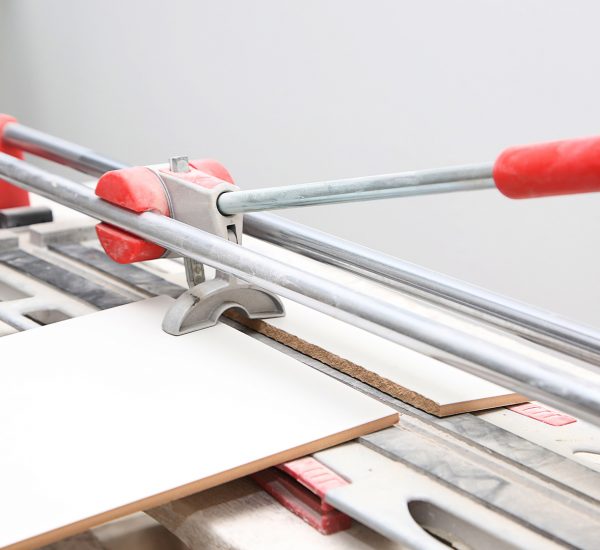
While it’s always best if your tiles are in tip-top condition, a small amount of damage to some of them shouldn’t deter you from painting your tiles. So can you paint tiles that are damaged? You shouldn’t, as the damage may affect the paint’s ability to adhere to the tile, or impact the overall aesthetic. However, it’s usually quite quick and easy to make isolated repairs as needed. Sealant can be used to fill minor cracks, or you can use a utility knife to remove the grout around a damaged tile, take the tile off, and replace it with a spare.
2. CLEAN YOUR TILES
Hopefully, you’ve already been cleaning tiles and grout on a regular basis to prevent mould growth. However, dirt, grime, and grease can build up very quickly on tiles, especially in areas around baths, basins, and cookers. Before painting, it’s a good idea to give your tiles a quick once-over to remove any surface dirt which may affect how well the paint adheres to the tile. Ceramic and porcelain tiles can usually withstand stronger cleaners than marble ones, but, unless you have a particularly stubborn stain, a mild dishwashing soap should do the job nicely. Allow them to dry completely before moving onto step 3.
3. MASK THE AREA
Can you paint tiles without masking? Absolutely. But as is good practice with any sort of interior painting, masking the area to protect the surroundings and create sharp, neat lines is recommended when painting tiles. Masking tape can also be used to mark up patterns on the tile if you’re planning to only paint a portion of the area. This makes it easy to customise the look and feel of your kitchen or bathroom.
4. ADD PRIMER
Even if you’re using a paint designed specifically for use on tile, you may be able to achieve a better result by applying a thin layer of primer before application. This is especially true for smooth, glossy tiles, as these surfaces don’t always allow paint to adhere well to the surface. Primer is usually very affordable, and can help your chosen colour to last longer and create a more durable finish.
5. START PAINTING
Perhaps the most important thing to remember when starting to paint is that differences in the material, texture, and finish of the surface, as well as differences in the type of paint that’s being used, can have a significant impact on how the paint sticks and shows up on the tile. That’s why it’s vital to patch test your paint, brushing the product onto a small and inconspicuous area before going full steam ahead.
When you’re sure that you want to continue, it’s often best just to apply thin coats. Brushstrokes can show up easily on some types of tile, so it may be better to apply two thin and even coats of paint, rather than attempting to create good coverage with one thick layer. Always allow the paint to dry completely before deciding whether to apply another coat. As anyone who has painted walls before will know, wet paint can look patchy at first, but brilliant a few hours later. Don’t make any decisions until it’s dry!


