Installing tiles on a wall is a great way to add style and functionality to any space, from kitchens to bathrooms to living rooms. However, many homeowners wonder if they can tackle this task on their own, without the help of a professional. The answer is yes, with the right preparation, tools, and techniques, you can successfully install tiles on a wall by yourself. In this blog post, we’ll go over the factors to consider, step-by-step instructions, and expert tips to make your DIY tile installation a success.
Factors to Consider:
Before starting a tile installation project, there are several factors to consider to ensure success.
- Tile Type and Size: The type and size of the tiles you choose will impact the installation process. Large and heavy tiles may require additional support, while smaller tiles may be easier to handle.
- Wall Condition: The condition of the wall you’ll be tiling is also crucial. Make sure the surface is clean, dry, and level. If necessary, you may need to repair any cracks or holes in the wall before starting the installation.
- Tools and Materials: Make sure you have all the necessary tools and materials for the job, including a tile cutter, adhesive, grout, trowel, and spacers. Additionally, wearing safety gear such as gloves and eye protection is recommended.
Step-by-Step Instructions
Now that you’ve considered the factors, it’s time to get started with the step-by-step instructions.
- Measure and Mark the Wall: Measure the wall to determine the amount of tiles needed and mark the centre line of the wall to ensure a balanced installation.
- Apply Adhesive: Using a notched trowel, apply adhesive to a small area of the wall, starting from the centre line and working outwards.
- Place Tiles: Place tiles onto the adhesive, pressing them firmly into place and using spacers to ensure even spacing between tiles.
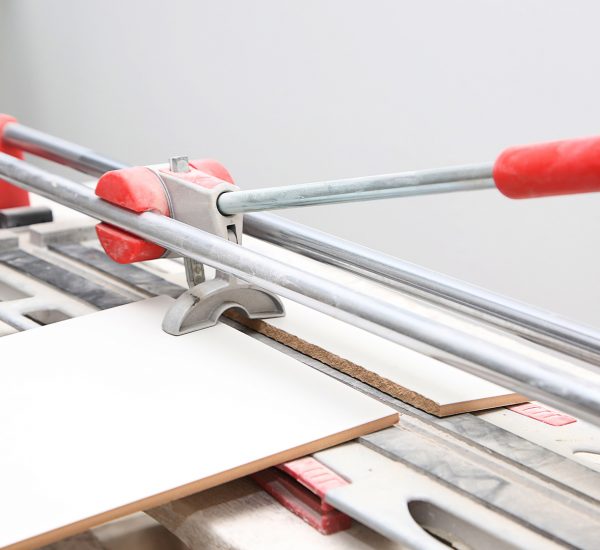
- Cut Tiles: Using a tile cutter, cut tiles to fit around obstacles or edges.
- Allow Adhesive to Dry: Allow the adhesive to dry according to the manufacturer’s instructions.
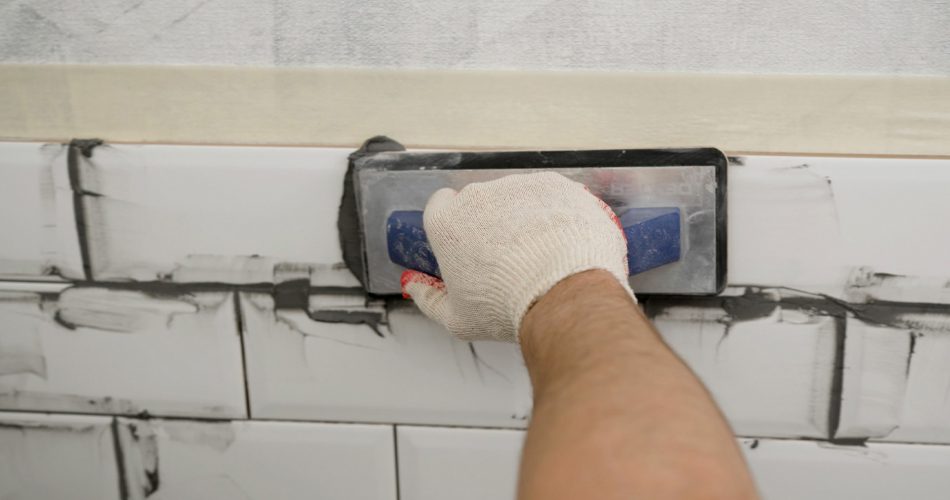
- Apply Grout: Apply grout to the tile joints using a rubber float, making sure to fill all gaps.
- Clean and Finish: Once the grout has dried, clean the tiles with a damp sponge and finish the edges with tile trim or silicone caulk.
Expert Tips
To ensure a successful DIY tile installation, consider the following expert tips:
- Start Small: If you’re new to tiling, start with a small project such as a backsplash or accent wall to gain experience and confidence.
- Use Quality Materials: Investing in high-quality tiles, adhesive, and grout will ensure a durable and long-lasting tile installation.
- Take Your Time: Rushing the installation process can lead to mistakes and potential issues down the line. Take your time and work methodically for the best results.
- Seek Professional Advice: If you’re unsure about any aspect of the installation process, don’t hesitate to seek advice from a professional tile installer.
Conclusion
Installing tiles on a wall by yourself is a challenging but rewarding DIY project that can add value and beauty to your home. By considering the factors, following step-by-step instructions, and applying expert tips, you can achieve a successful and professional-looking tile installation. With patience, attention to detail, and a bit of elbow grease, you’ll be amazed at the transformation of your space.


