It’s that time! You are about to start your tiling project. New tiles can help bring a new lease of life into your home. Whether you are doing your bathroom, kitchen, dining space or any other room it takes some planning to ensure that you keep within your budget and you know exactly how much material you need. When starting a tiling project there are three key materials you need; tiles, adhesive & grout.
Grout Calculator
We recommend adding 5-10% extra to cover for spillages and wasted material.
How Much Grout Do I Need?
STEP 1: MEASURE THE TILED SPACE
To find out how much grout is required you need to first calculate exactly how much space you are tiling. If you are tiling space which is not a simple rectangle or you are tiling multiple areas you need to break up the area into multiple rectangles and add the total area together. To calculate the area simple multiply the width by the length of the area and you will get the total area.
STEP 2: MEASURE THE TILES
Tiles come in a vast ranges of sizes with common sizes being; 10x20cm, 30x30cm, 60x60cm and 30x60cm. The size and thickness of your tiles have an effect on how much grout you will need. You will need to get precise measurements of the tiles that you are using.
STEP 3: SPACERS
When laying your tiles you will be using spacers, they allow you to achieve a consistent space between your tiles for a cleaner look. Tile Spacers come in a variety of sizes from 1mm to 10mm thick, with common sizes being 3mm and 4mm. The thickness of your spacers has a significant effect on the amount of grout you will need to complete your project.
STEP 4: THE CALCULATION
Now you know how big the area you want to tile is and the size of your tiles and spacers you can now calculate how much grout you need.
As a guide, a single 3kg bag will cover approximately 5m2 with a small tile measuring 7.5x15cm with a 2mm spacer.
When using large format tiles like a 60x60cm tile with a 2mm spacer the same 3kg will cover 15m2 approximately.
- Add the length of the tile and the width of the tile together.
- Multiply the figure from step 1 by the width of the grout joint.
- Multiply the figure from step 2 by the depth of the grout joint.
- Multiply the figure from step 3 by 1.8, this is the standard kg per m2 coverage.
- Multiply the length by the width of the tile.
- Finally, divide the figure from step 4 by the figure from step 5.
To simplify, below is the formula to calculate the amount of grout you need.
(Tile Length + Tile Width) x Joint Width x Joint Depth x 1.8 kg/m2
/
(Tile Length x Tile Width)
When making your calculation it is important to add 5-10% extra to cover for spillages and wasted material in the mixing process.
What is Grout?
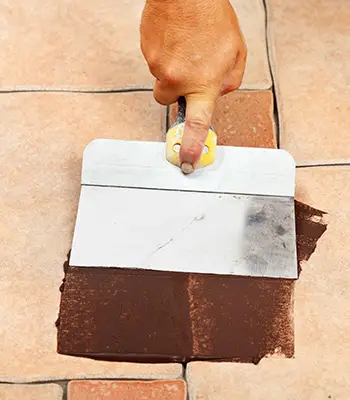
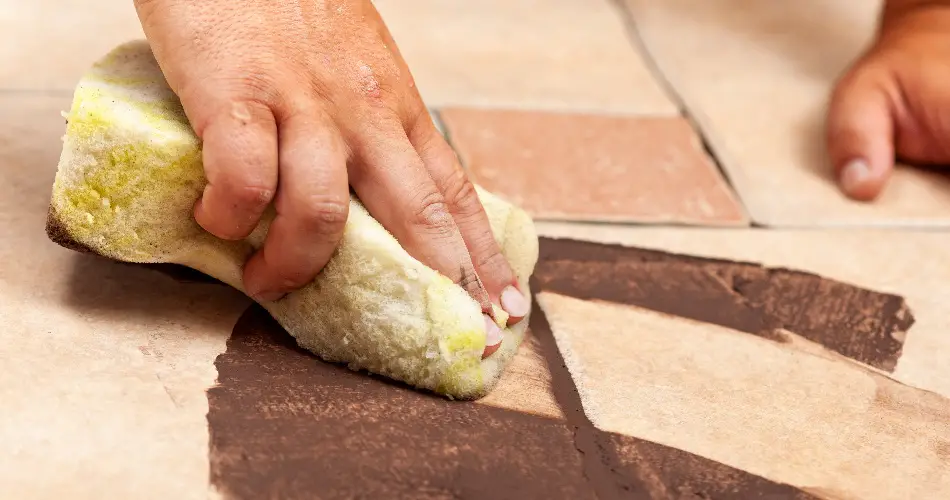
Grout is a mortar/paste designed to fill in the cavities between the tiles to stop moisture and dirt getting between and behind the tiles. Grout also has the added benefit of adding a clean & smooth finished between your tiles.
Grout is available in a variety of colours, finishes and 4 different types. You can choose simple grout colours like; white, beige, ivory, black and grey, for the more adventurous homeowner you can choose bolder colours and finishes like glitter grout, which sparkles in the light and works well with quartz tiles. You can even get grout additives like glitter, custom colour powders and even an additive to reduce the chance of the grout staining.

What Grout Do I Need?
As we mentioned there are 4 types of grout to choose from; sanded, un-sanded, epoxy & furan grout.
SANDED GROUT
Sanded grout is the most commonly used grout for ceramic, stone & porcelain tiles. Sanded grout is made from Portland cement, sand and other additives which are mixed with water and applied to the grout joint. It takes approximately 24 hours to dry and gets harder the longer you leave it as the cement sets.
There is one main problem with sanded grout. If unsealed this type of grout can easily be stained and absorb water due to the grout being very porous. Sanded grout can also easily scratch soft tile like natural stone and marble. It is not recommended to use sanded grout on natural stone tiles.
UN-SANDED GROUT
Un-sanded grout is also known as wall grout is the same basic mixture as sanded grout but without the sand. Un-sanded grout is used with ceramic, stone & porcelain tiles and will not scratch polished stone tiles when applied, unlike sanded grout.
With un-sanded grout, you also have to consider sealing the grout to stop the absorption of moisture and staining as un-sanded grout is also very porous.
EPOXY GROUT
Epoxy grout is a water-less two-part epoxy resin and hardener which are mixed just before grouting. When the mixture cures it creates a seamless stain & moisture resistant finish. Epoxy grout is also easily cleaned and is perfect for ceramic, porcelain, stone and glass tiles.
Epoxy grout is not the easiest grout to apply and can be very messy, it is highly recommended to higher a professional tiler which experience using epoxy grouts.
FURAN GROUT
Our final type of grout is furan grout. Furan grout is very similar to epoxy grout but is comprised of polymers of furfuryl alcohol which are resistant to chemicals. Furan grout is not typically used in residential properties, but are commonly used in industrial settings like laboratories, clean rooms, food factories and other environments when hygiene is key. Furan grout is only available in black and requires specific skills for proper installation.
Now you know how much grout you need its time to start tiling. But remember that you need to consider sealing your grout.


